Second Nature & Salesforce Integration
Last updated: April 22, 2026
Overview
Integrating your Second Nature account into Salesforce allows for personalized training experience that helps reps enhance their sales potential, enabling them to practice and refine their skills ahead of real sales interactions.
This guide is split into parts:
Part 1. Install Second Nature Package on Salesforce
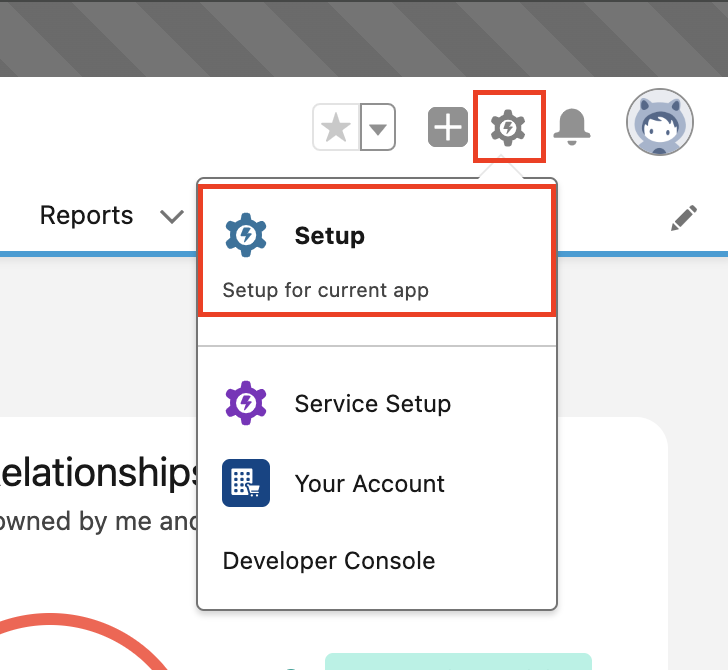
1. Login to your company’s Salesforce account using a user that has admin privileges. Click the cog icon and then Setup.
2. In the Quick Find, type AppExchange. Select AppExchange Marketplace from the links provided to navigate to the AppExchange.

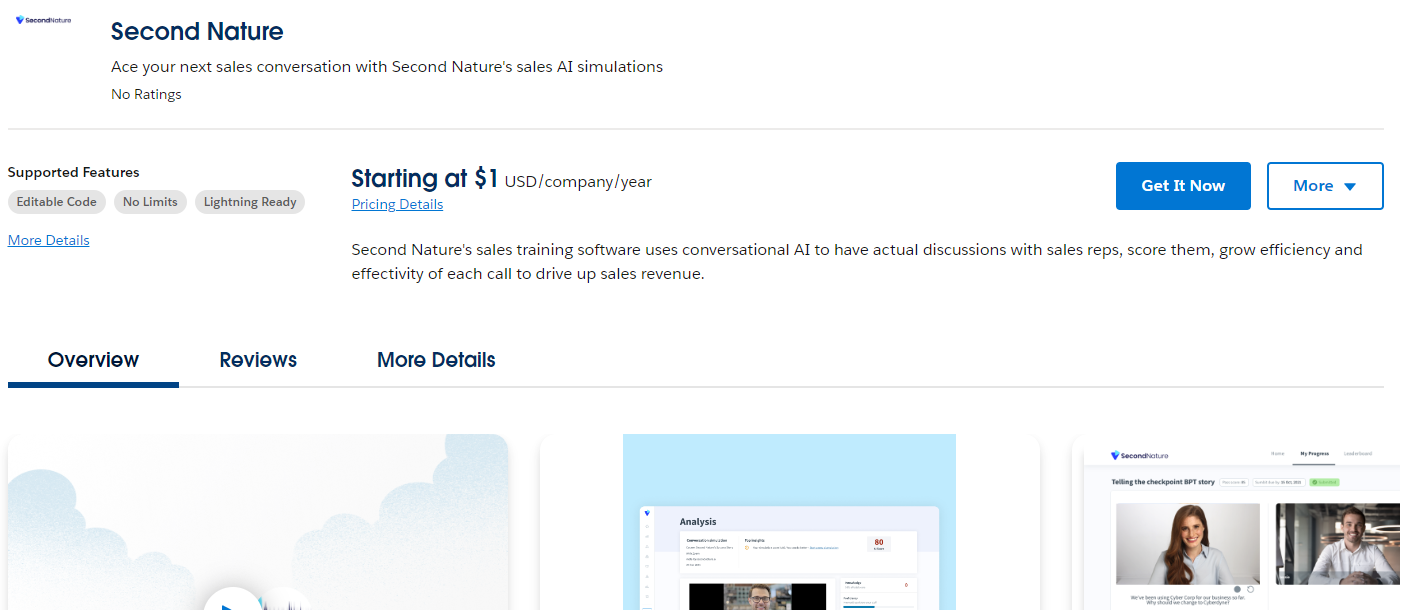
3. In the AppExchange window, enter Second Nature into the Search AppExchange field. Navigate to the Second Nature app.
4. On the Second Nature detail page select Get It Now.
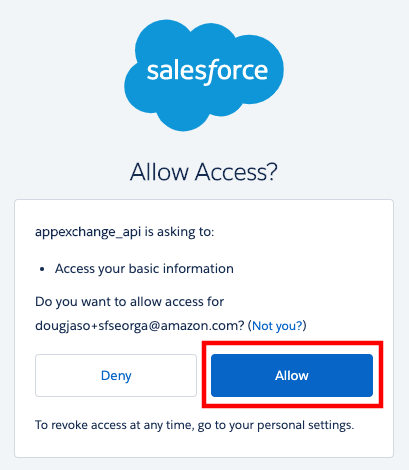
5. If you are presented with the Log In to AppExchange screen, select Open Login Screen. You should then be presented with an Allow Access Screen. Choose Allow
6. You should see a screen with installation options. Under “Install in this Org” select Install Here.

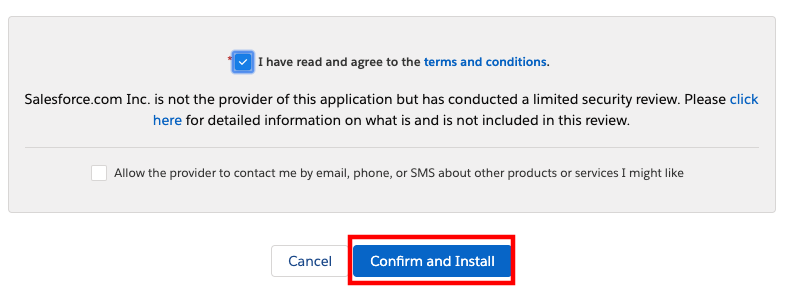
7. On the Confirm installation details screen, fill out the Tell us about yourself form, check the box to agree with the terms and conditions, and optionally select the box to allow the provider to contact you. Then select Confirm and Install.
8. Select the Install for Admins Only option, then choose Install.
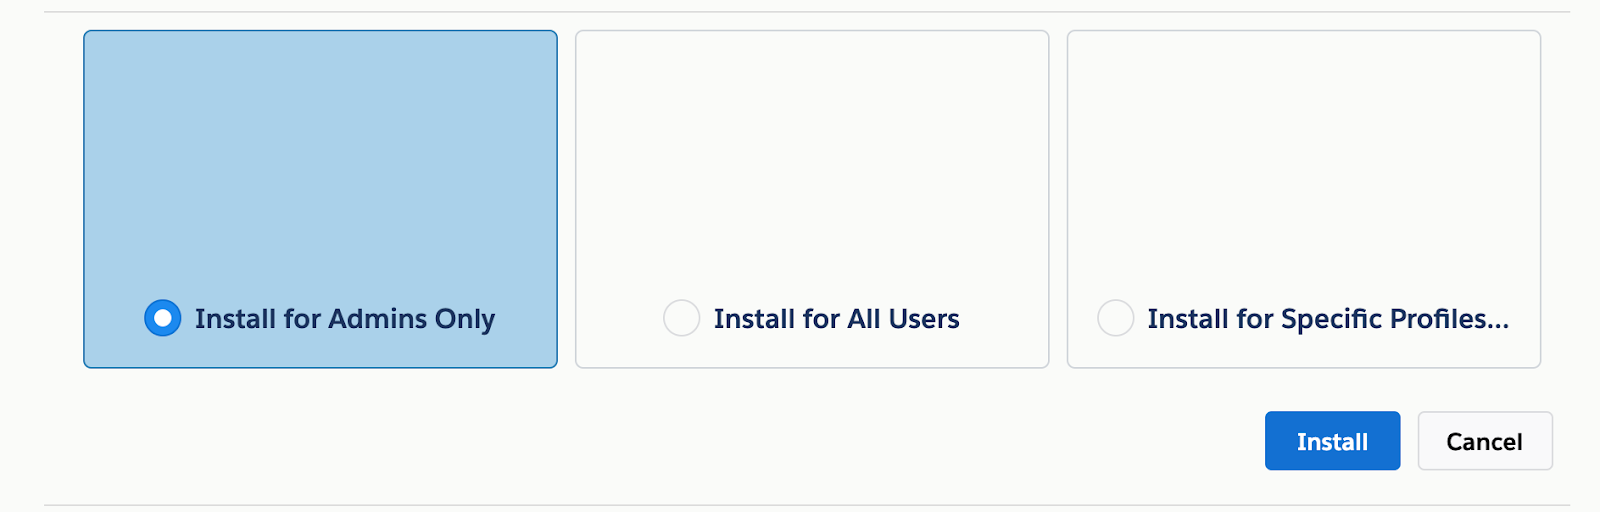
WARNING:
It’s crucial that you select the Amins Only option. Selecting another option may grant excess permissions to users.
NOTE:
While the Second Nature app installs, you may be presented with a screen indicating the installation is taking a long time. You may choose the Done option, exit the AppExchange window, and resume the guide later.
NOTE:
You should receive an email notification to indicate when the installation is complete. Resume this guide after the app is successfully installed.
9. Back in Salesforce, use the Quick Find to navigate to Installed Packages.
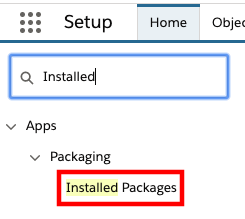
10. Within the Installed Packages page, validate that the app was installed.
Part 2: Set Permissions To Use Package
Second Nature provides a permission set for agents to use the app within Salesforce. This section of the setup involves providing those permissions to the appropriate users.
1. Log in into your company’s Salesforce account and go to Setup.
2. In Quick Find, enter Permission and select Permission Sets from the results
3. Choose SecondNature_User for relevant users.
4. Choose Manage Assignments.
5. Choose Add Assignments.
6. Select the users to assign the permissions, then choose Assign.
7. In Quick Find, enter Profiles, then select Profiles from the result
8. Select the relevant profile. Press Edit.
9. In the Connected App Access section, check the Second Nature App
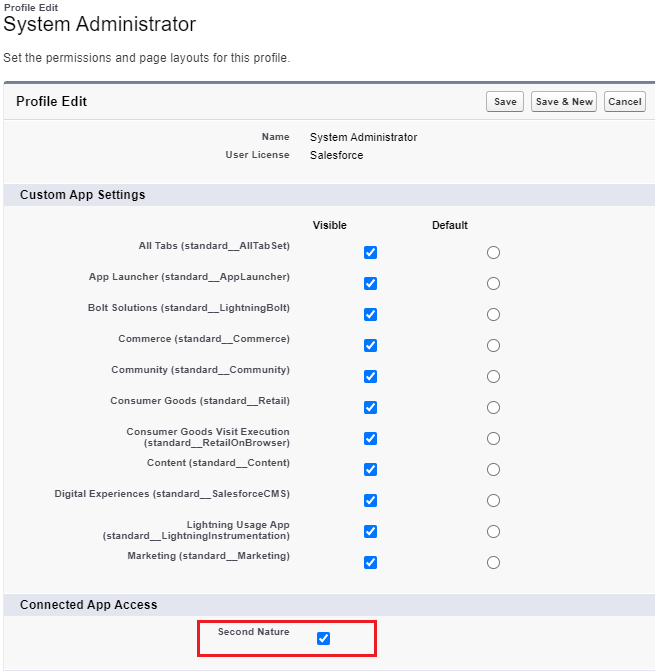
10. Save changes
11. Repeat the process for every profile you want to allow access. Alternatively you can create a Permission set to allow access in a more granular way.
Part 3: Setup Single Sign-On
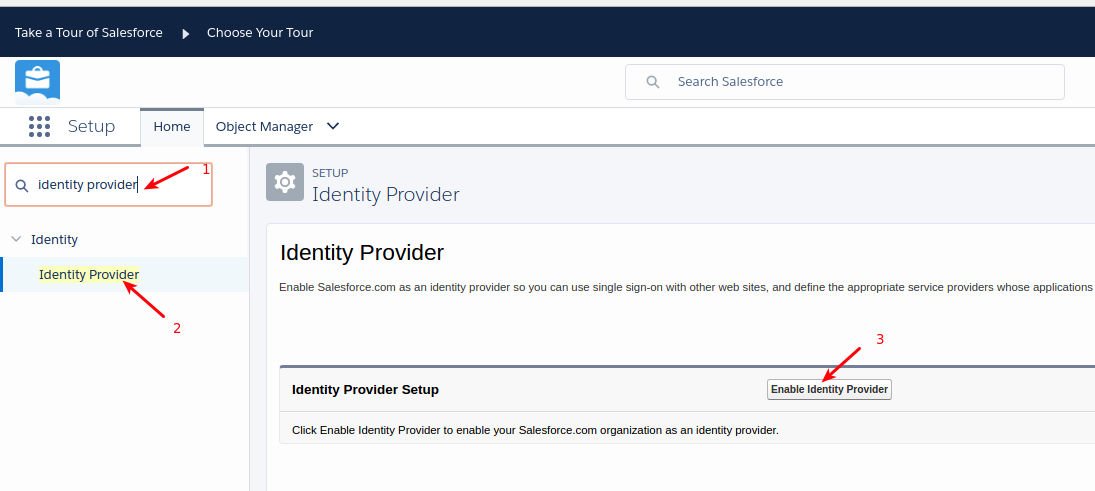
1. In Quick Find, enter Identity, then select Identity Provider from the result
2. Click Enable Identity Provider.
3. Select a certificate from the dropdown menu,
4. Save your changes.
5. Press Download Certificate and Download Metadata to get files that are needed for setting up SAML.

6. Contact Second Nature Support and provide the files downloaded in Step 5.
7. Wait for Second Nature to respond with two URLs: ACS URL & Entity Id. You will need these URLs later.
8. In Quick Find, enter Manage Connected Apps, then select Manage Connected Apps from the result.
9. Press Edit next to Second Nature.
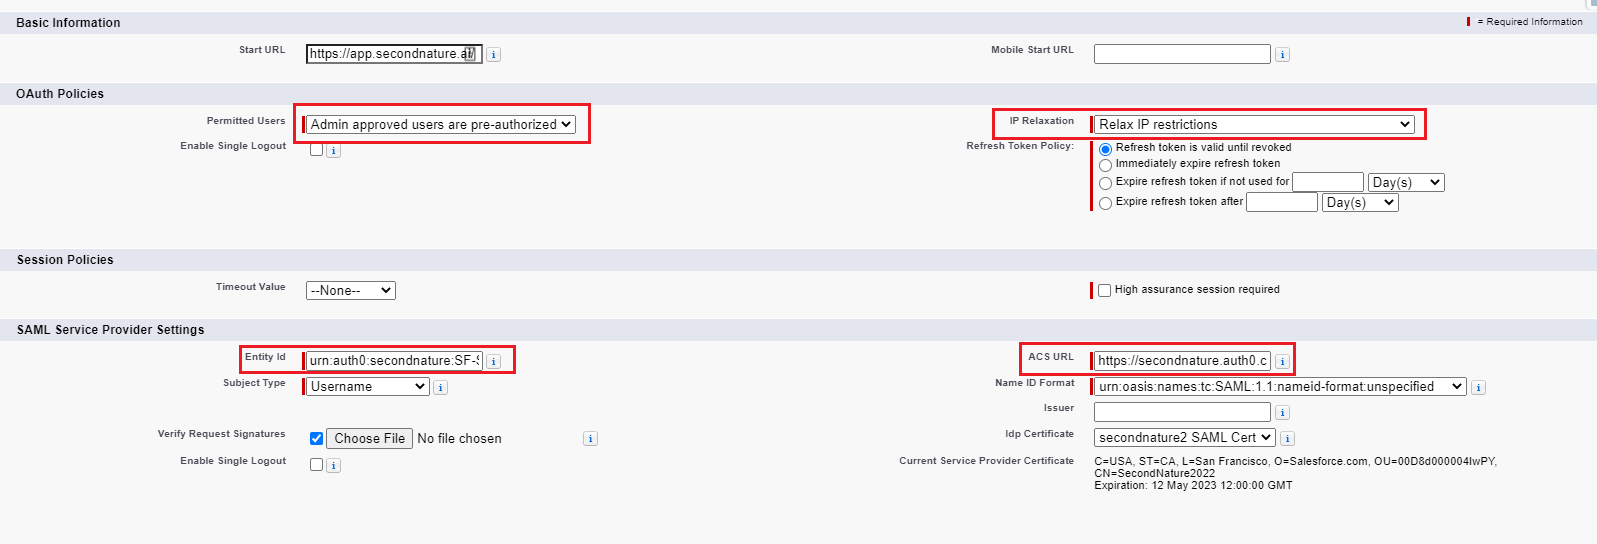
10. Set Permitted Users to Admin approved users are pre-authorized.
11. Set IP Relaxation to Relax IP restrictions.
12. Set Entity Id to the one that received from support.
a. Example: urn:auth0:secondnature:XXXXXXX-SAML
13. Set ACS URL to the one that you received from support.
b. Example: https://secondnature.auth0.com/login/callback?connection=XXXXXXX-SAML
14. Save Changes
Part 4: Verify the App is Working
1. In the App Launcher, type Second Nature. Select Second Nature Admin from the result.
2. In the Second Nature Tab the app will load to show your Second Nature Home Page.
Congratulations the app is installed & setup
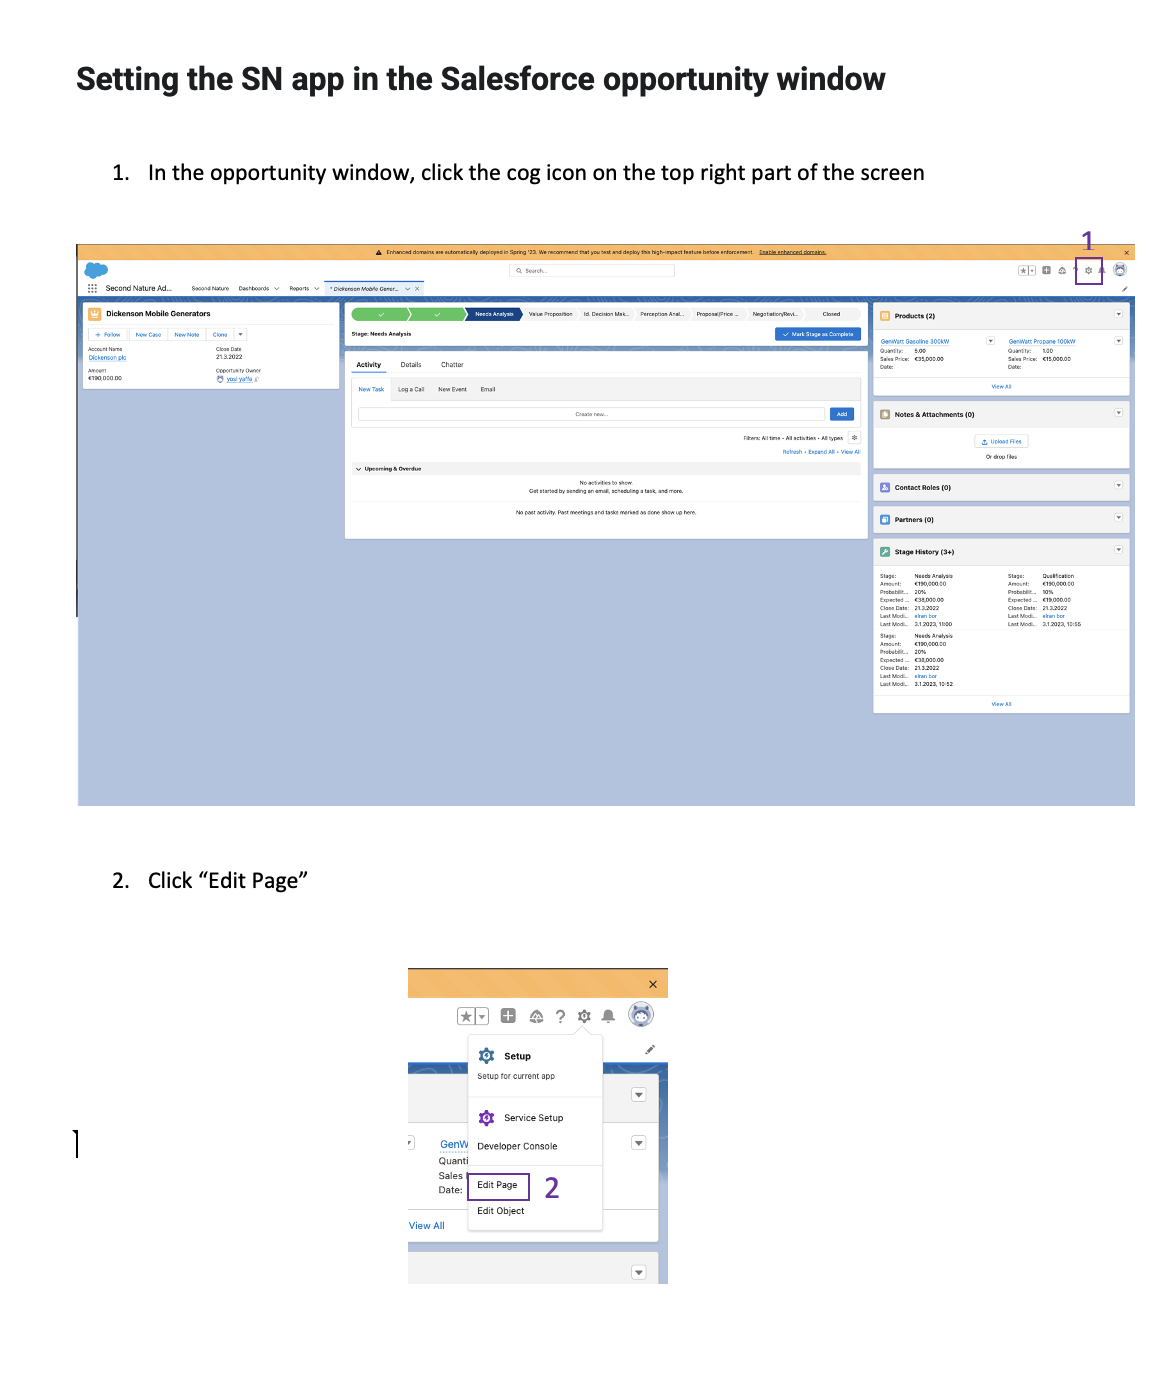
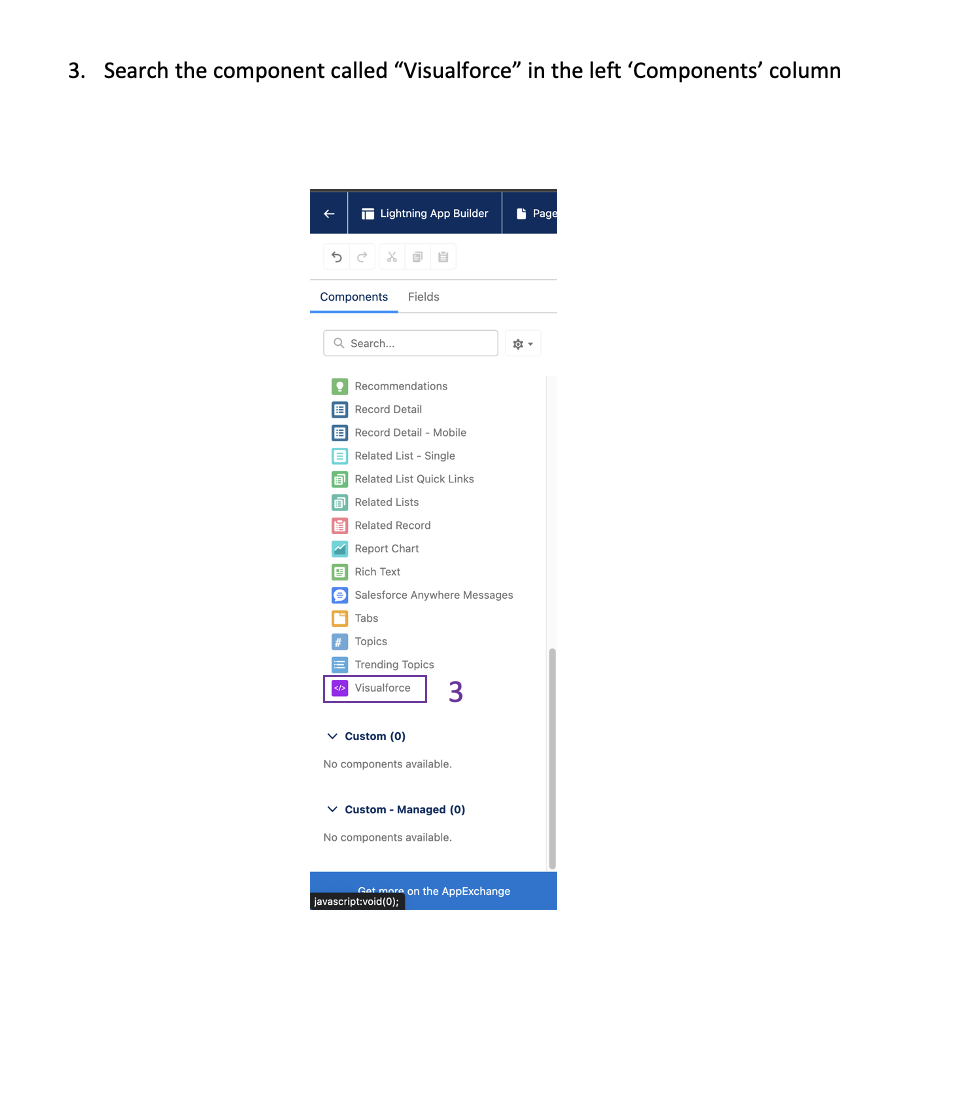
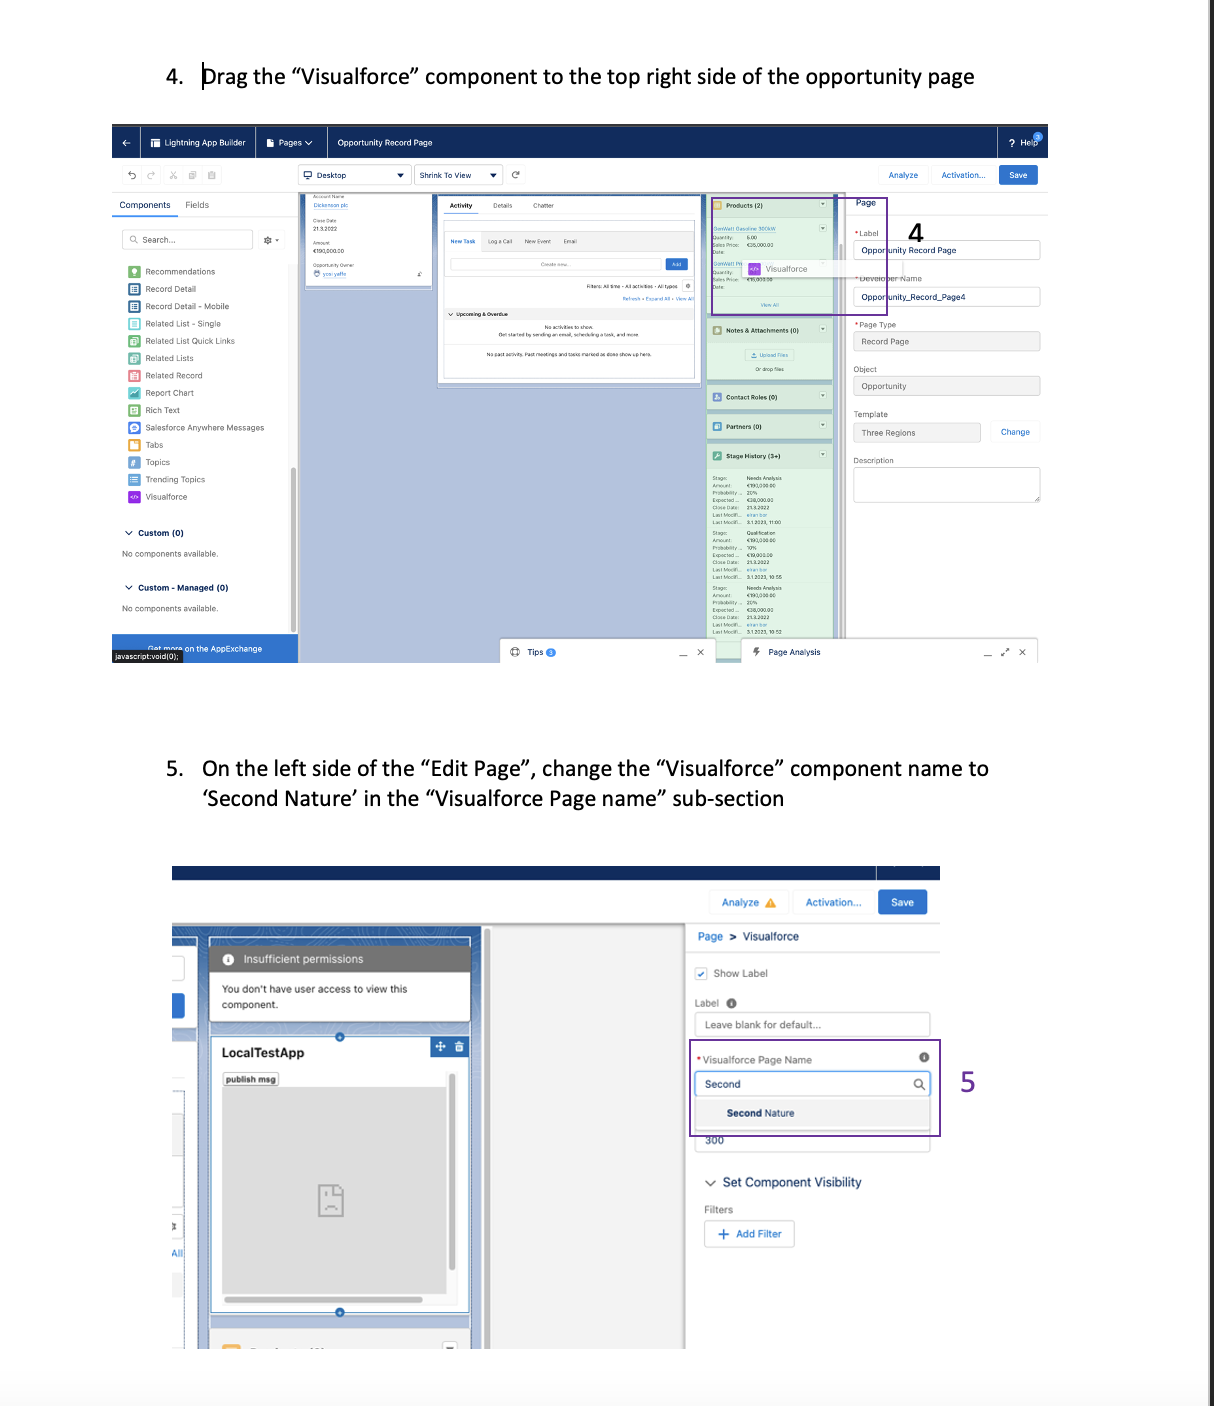
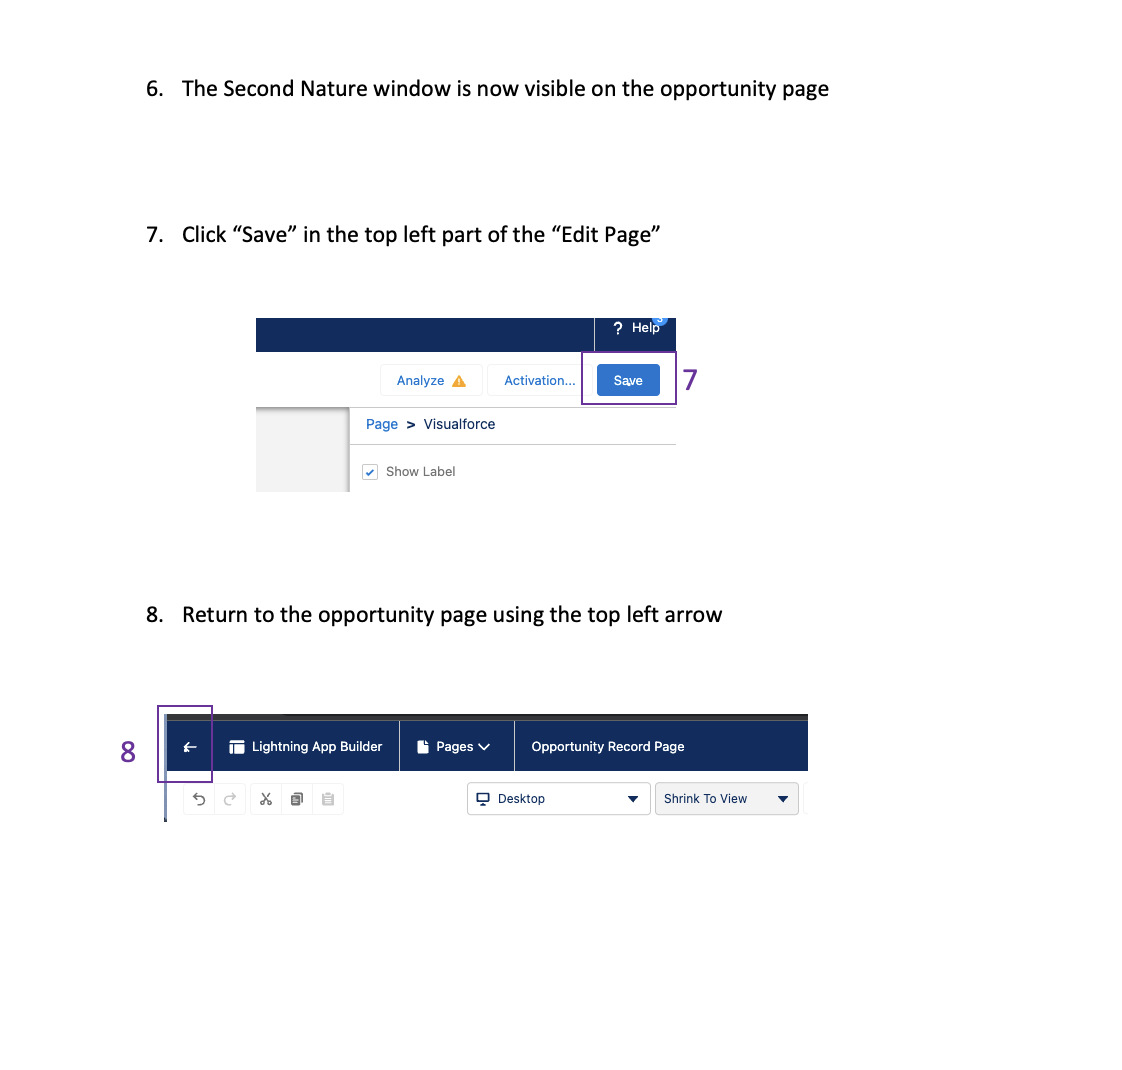
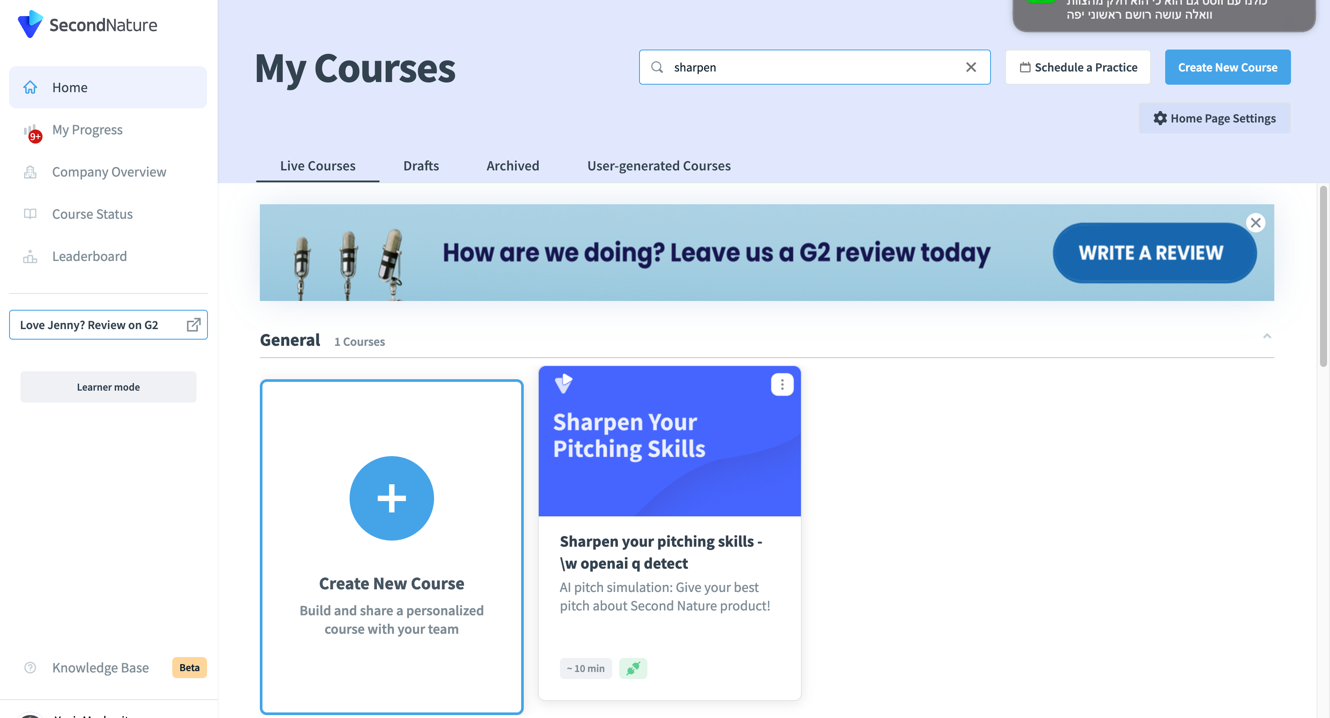
Part 5: Add App to Your Salesforce Layout
Part 6: Provide Salesforce Permissions to Second Nature
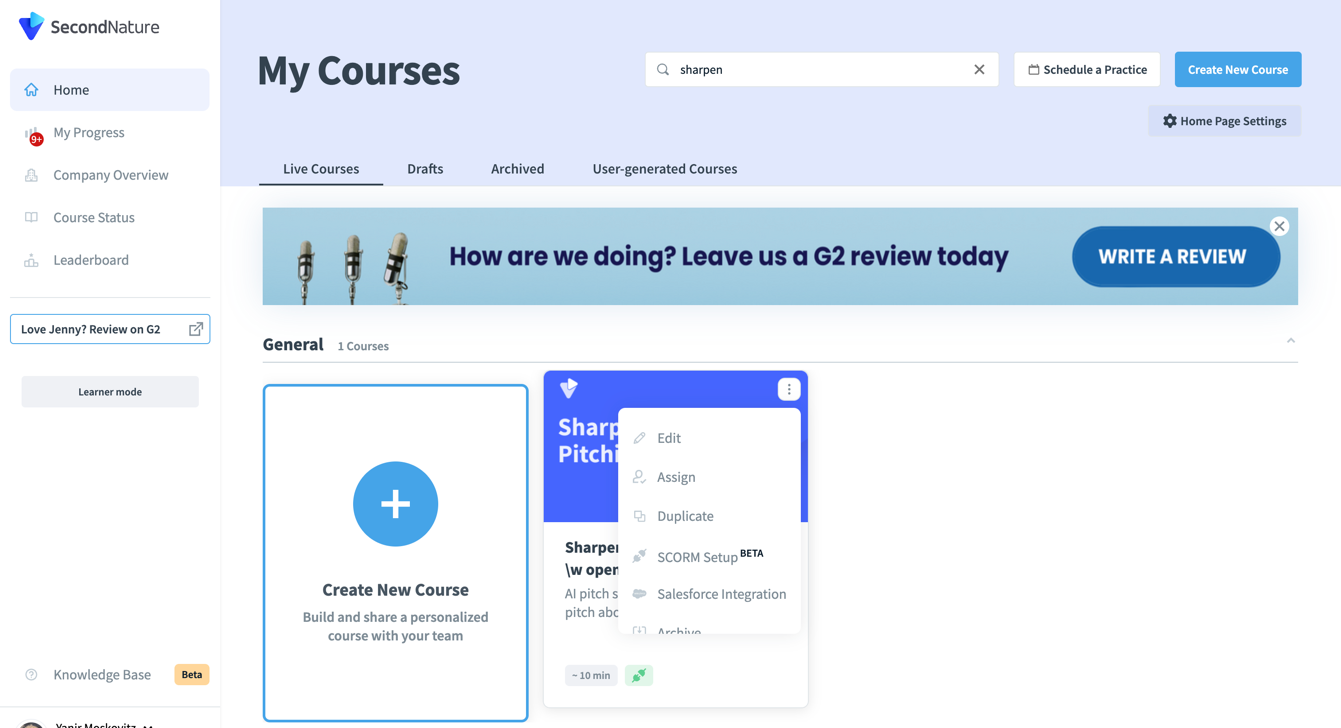
1. In the Second Nature home page, hover over the top right corner of a course you wish to integrate with Salesforce data. This will a reveal a ⋮ (vertical ellipsis) button.
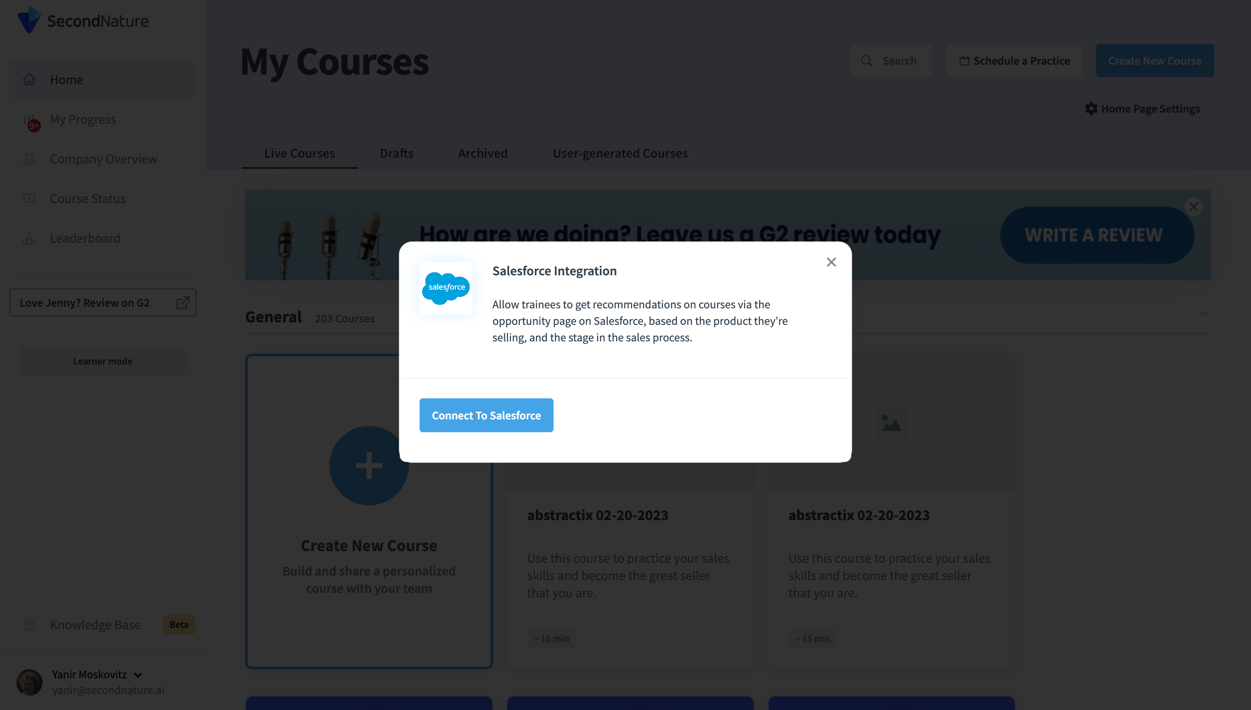
2. In the drop-down menu that opened, click Salesforce Integration.
3. A pop-up will appear. Click Connect to Salesforce.
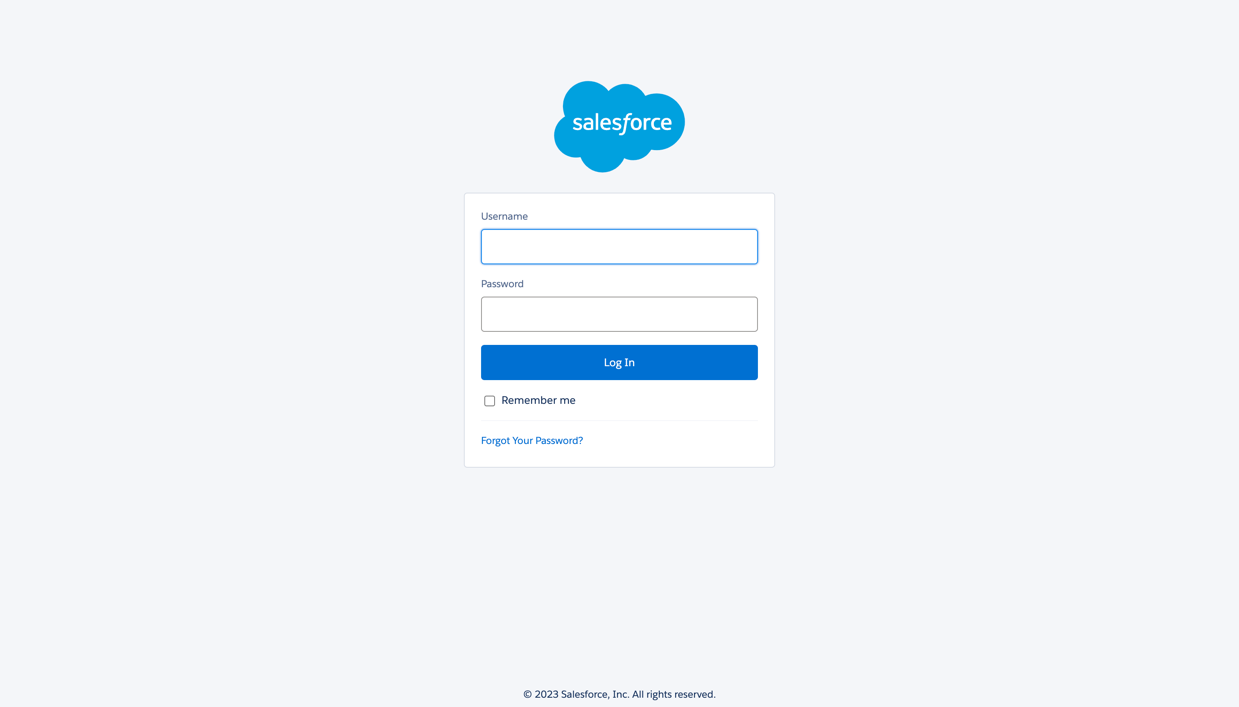
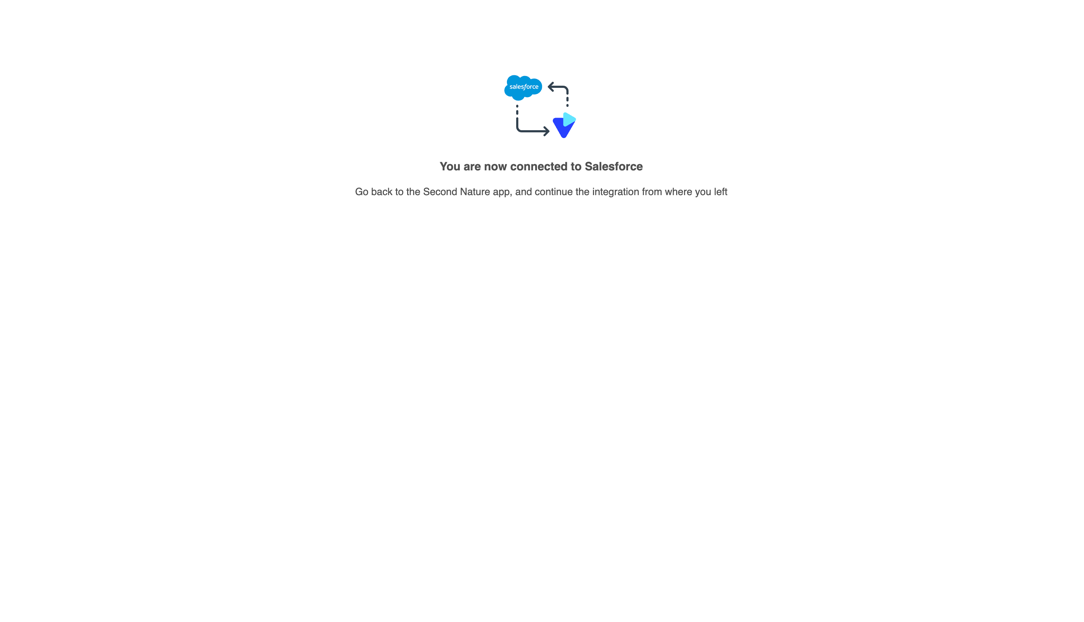
4. Insert your Salesforce credentials. Click Log In. Wait for an authentication message that indicates your credentials were approved.
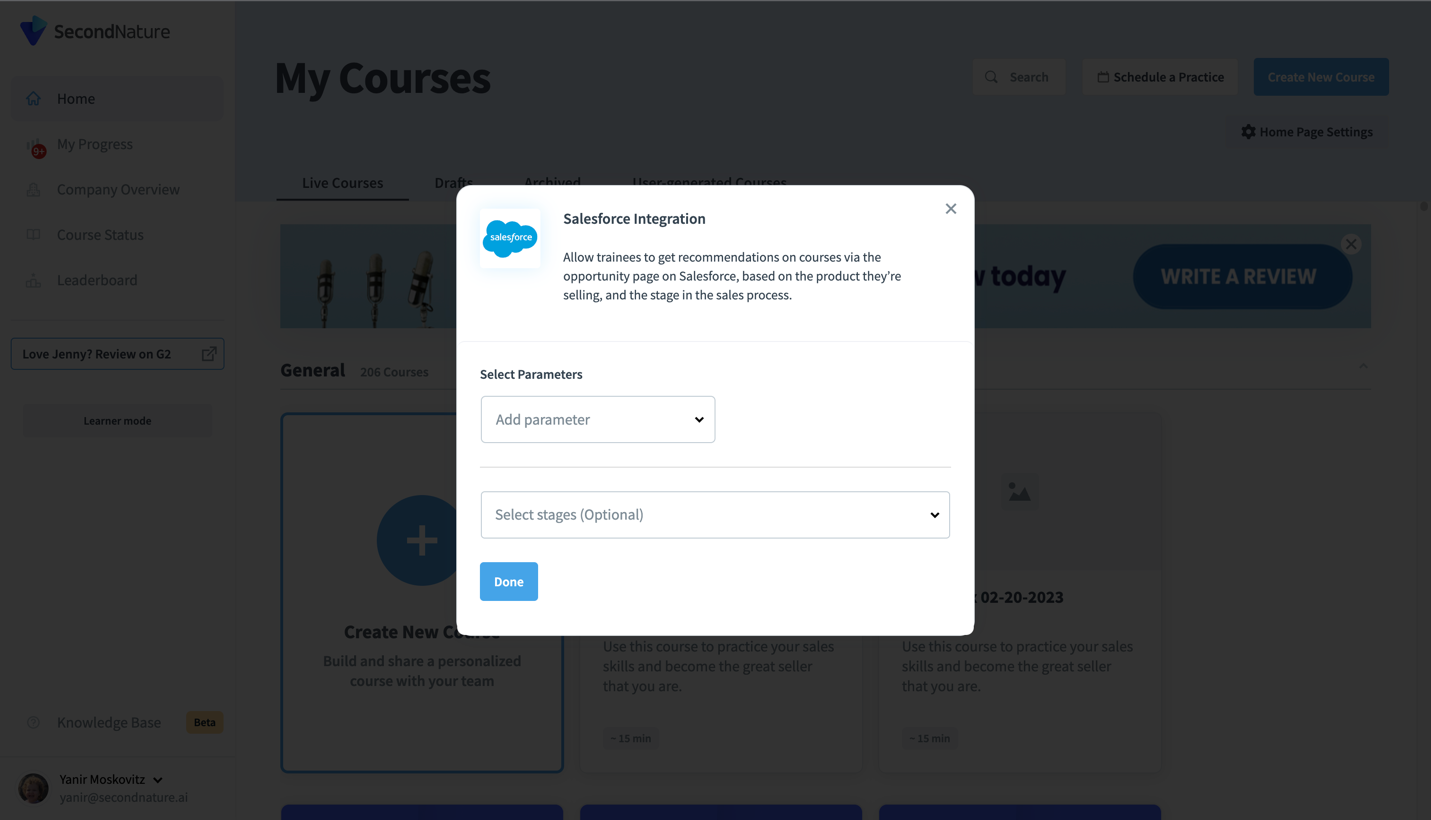
5. Go back to the Second nature home page. Hover over the top right corner of a course you wish to integrate with Salesforce data. This will a reveal a ⋮ (vertical ellipsis) button. Click Salesforce Integration.
6. A different pop-up will appear providing options as to when the selected course should be displayed in Salesforce. Select the appropriate Parameter and Stage. Press Done after making your selection.
7. Confirm that the course is now available in the Second Nature window of your Salesforce.