How to Create a Course
Last updated: April 22, 2026
NOTE:
This guide provides a high-level overview of the course creation flow. For more details on task types and editor functionality, refer to'Understanding Task Types' and 'Customizing Simulation Tasks'.
Step-by-Step Guide to Creating a Course
1. Start Course Creation
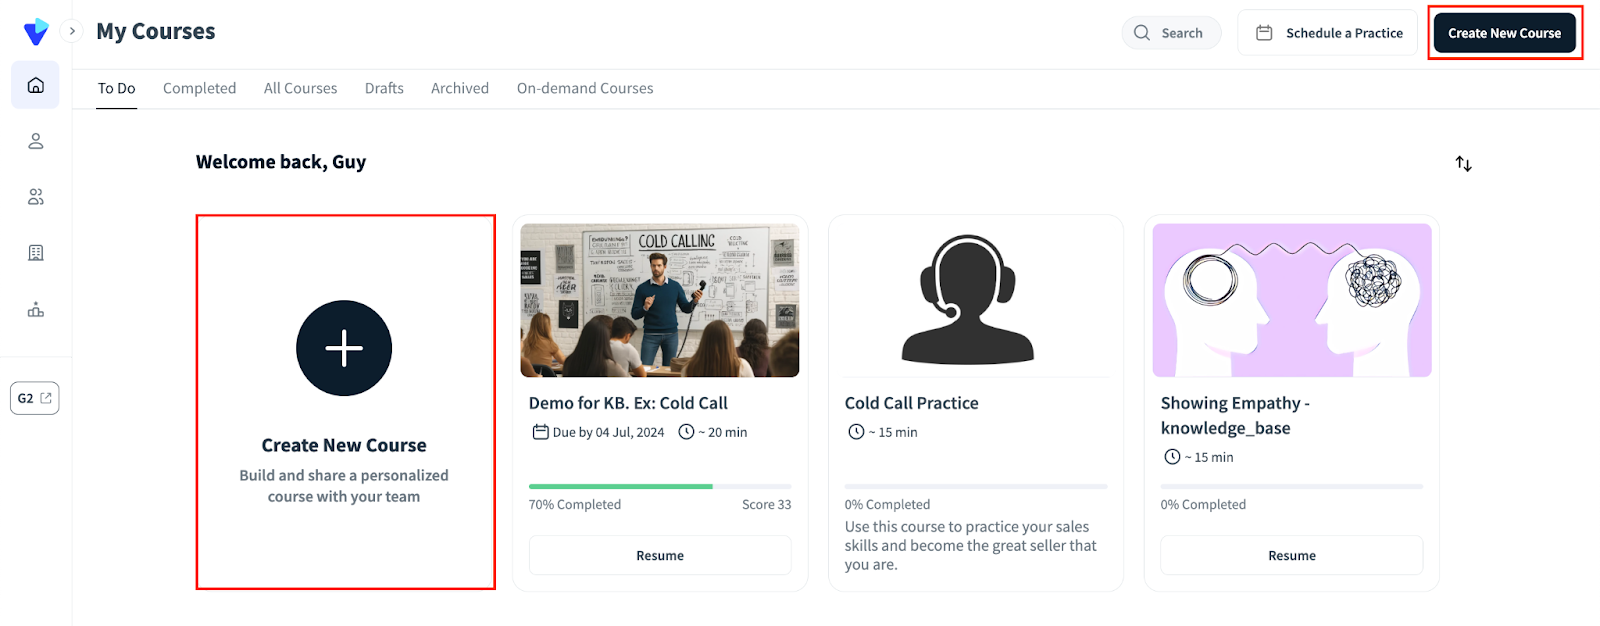
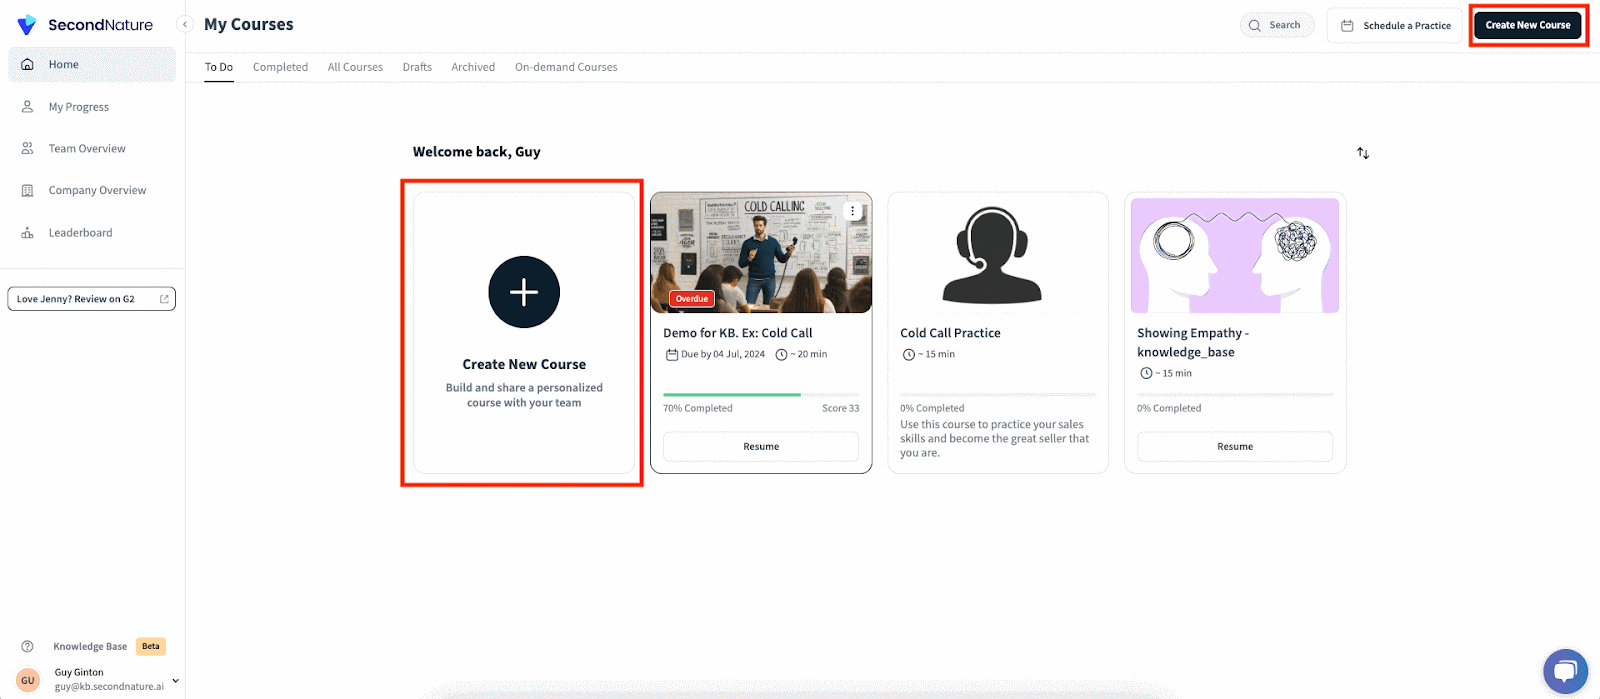
From the Second Nature Homepage, click Create New Course at the top right corner or to the left of your list of courses.
You must have editor privileges to create courses.
The course creation process involves two main steps: Course Layout and Course Structure.
2. Course Layout
On the Course Layout page, fill out the details to describe your new course. You can preview the layout on the right side of the page. Press Next step when satisfied.
Fields to fill:
Course Name: A concise name describing the course focus.
Course Description: A longer explanation of the course purpose and details.
Section: Organize your course within a relevant section shown in the All Courses tab.
To select an existing section: Use the section dropdown menu and select a section.
To create a new section: Click the + Add new section option in the dropdown, enter the section name, and press Add section.
Featured Image: Add an image for the course preview.
Press Next step when you are satisfied with the layout.
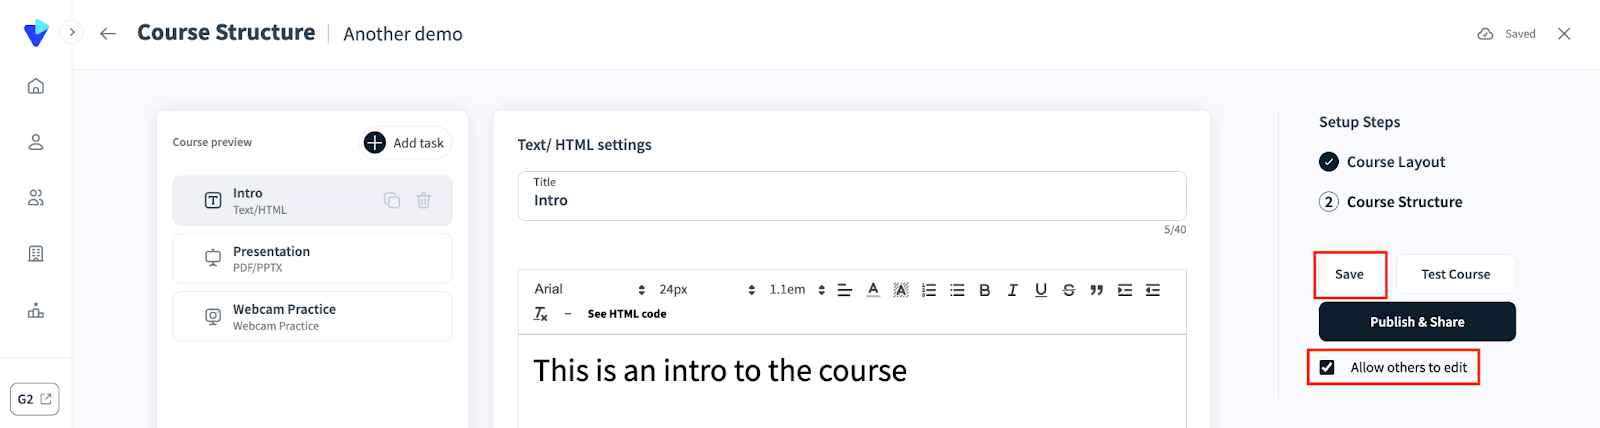
3. Course Structure
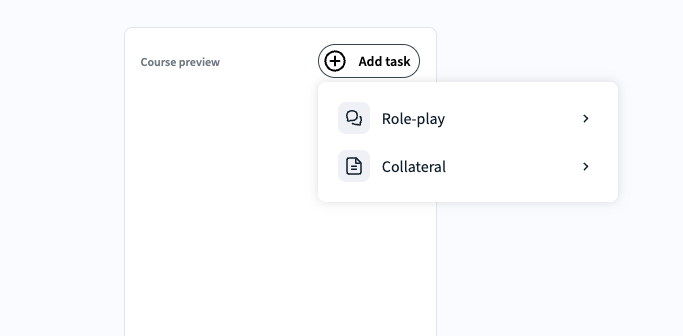
On the Course Structure page, press Add Task. Two options appear:
Role-Play: Add simulation tasks to your course.
Collateral: Add collateral tasks (documents, videos, quizzes, etc.) to your course.
Refer to Customizing Simulation Tasks or Collateral Tasks Overview for guidance on building these tasks.
Additional Notes:
After all tasks are added, press Save to prevent losing progress. A confirmation popup will appear.
Optionally, uncheck Allow others to edit to prevent other editors from modifying the course.
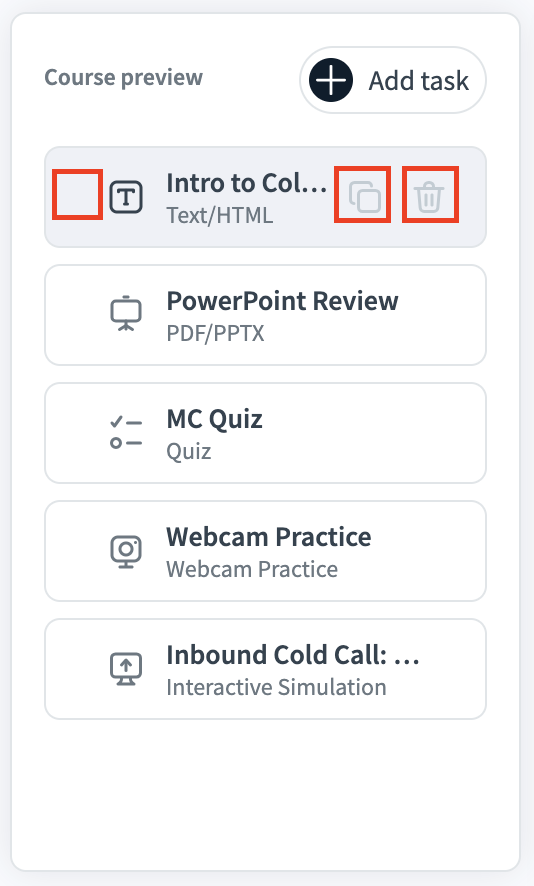
4. Adjusting Tasks
Use the left-hand course preview to reorder or manage tasks. Each task has three action buttons:
Reorder Task: Hover over the left side of a task to reveal two vertical lines and drag the task to reorder.
Duplicate Task: Click the overlapping squares icon to duplicate a task (useful for repeated simulations).
Delete Task: Click the trash icon to remove a task.
5. Test Your Course
Press Test Course to review your course before publishing.
Red warning icons will appear for missing or incomplete task details. Correct these before proceeding.
Once warnings are resolved, press Test Course again to open a popup where you can complete each task.
Scores obtained in the Test Course mode are not saved.
TIP:
Test quizzes to confirm correct answers.
Test simulations to ensure the AI Persona behaves as intended and grades are accurate.
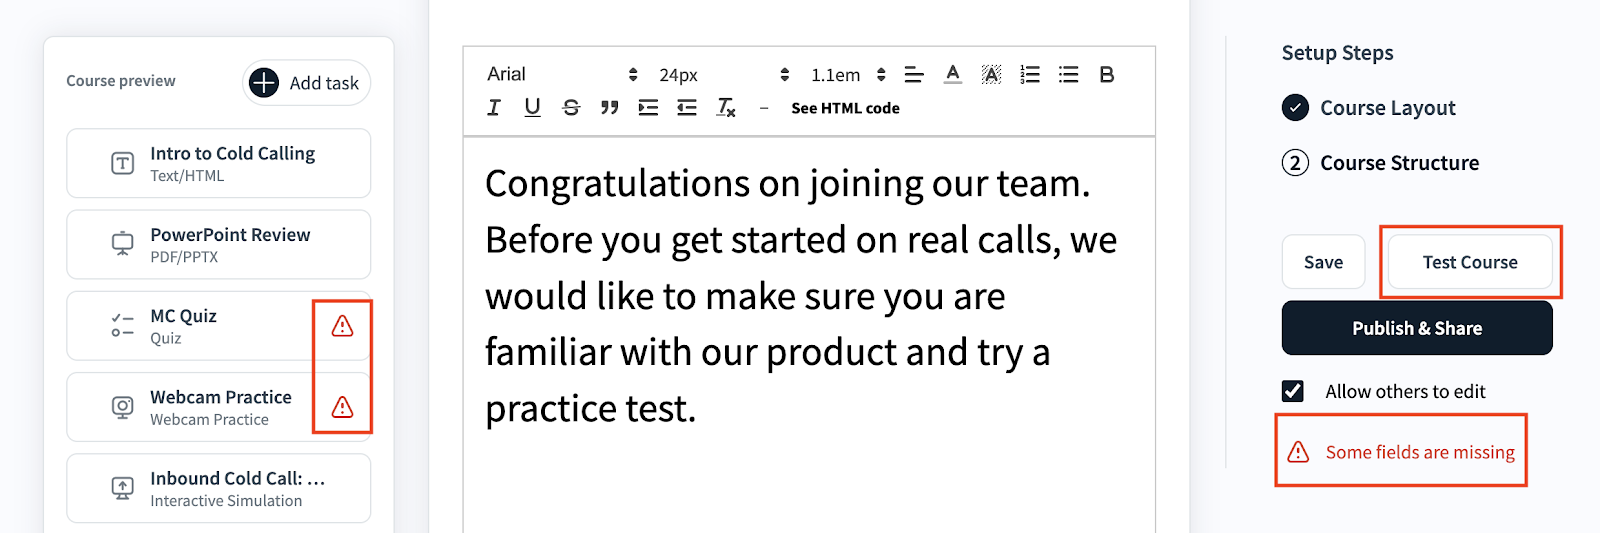

6. Publish & Share
Press Publish & Share to complete the process. A success popup will confirm the course has been published. Click Continue to return to the previous page.
7. Assign the Course
Once published, assign the course to relevant users. Refer to "How to Assign a Course" to complete this step.