Basic Settings and Presentation Settings
Last updated: April 22, 2026
In the examples below, the Cold Call template was selected:
Basic Settings
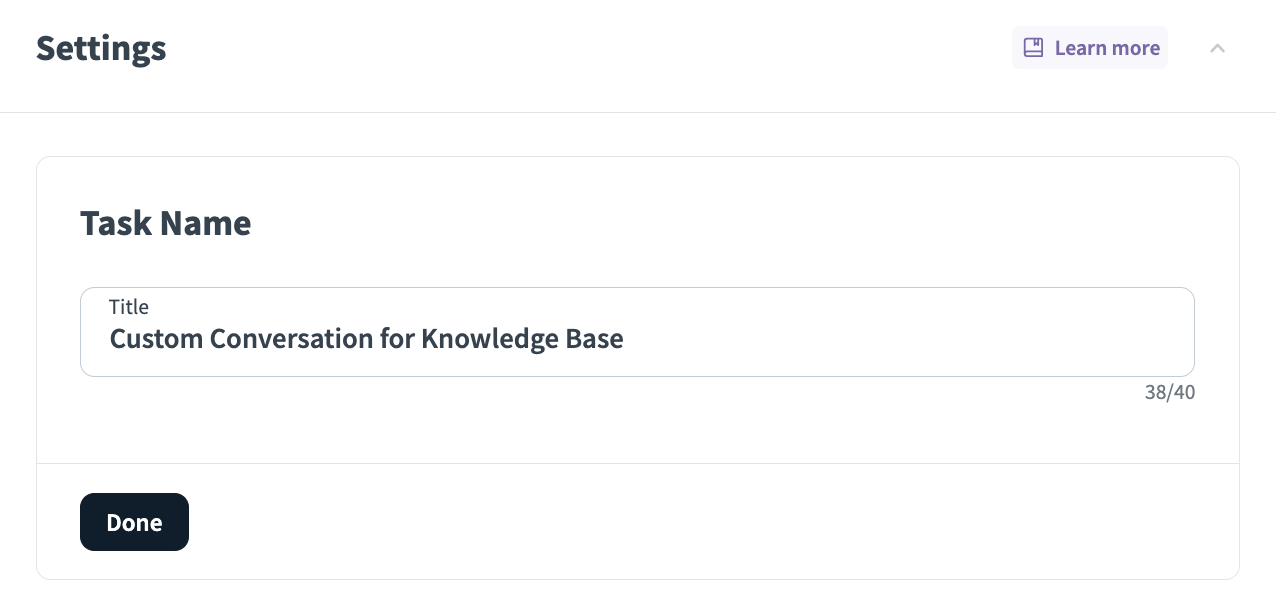
In the Settings section, locate the Task Name section. Enter a name to associate with your new simulation task, such as “Client Onboarding Simulation” or "Interview for Sales Role". Press Done to save the new task.
Presentation Settings
NOTE:
If you are creating a simulation that does not use a presentation, skip this step. The default setting is to not use presentations during the simulation.
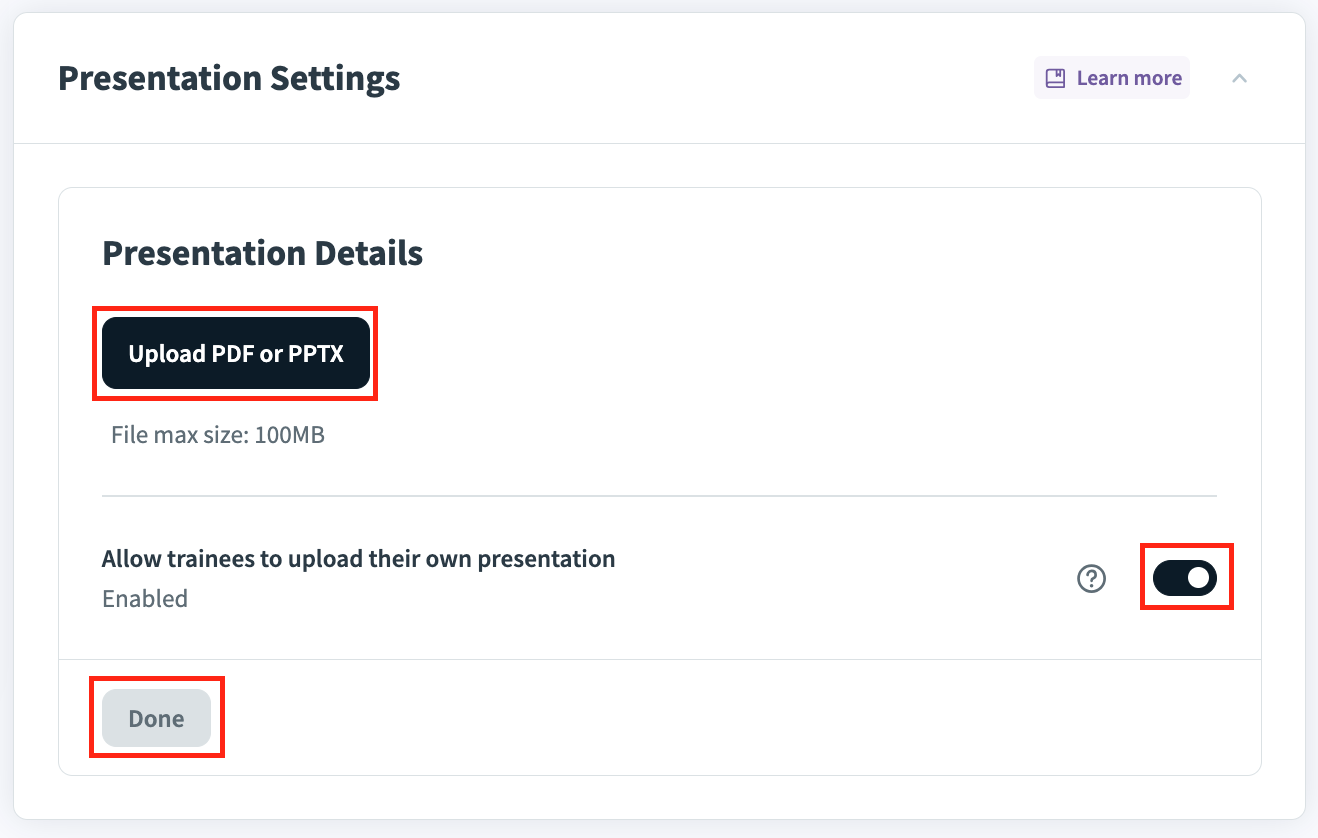
If you wish to have the trainee review a presentation during the simulation, go to the Presentation Settings section. Click Edit to reveal presentation setting options.
There are two options for using a presentation on a call (illustrations provided below):
a. Press Upload PDF or PPTX to upload a presentation file, which will be available for trainees to reference during their simulations.
b. Toggle Allow trainees to upload their own presentation if you would like the trainee to have the option to upload their own presentation for their simulation.
Press Save when you have completed changes.
Screenshot below depicts an additional show speaker notes option available for simulations with an uploaded PPT/PDF:

Screenshot below depicts how a PPT/PDF appears during a simulation:

NOTE:
If a presentation is uploaded by the course creator, and the option to allow users to upload presentations is also selected, trainees will have the option of which presentation to use before beginning their simulation.
Image depicts the buttons used to both provide a presentation and allow trainees to upload their own:
NOTE:
If you are using the Custom Conversation template, you will need to go through the Personalize Your Simulation steps. See “Setting up a Custom Conversation” for more information on this step. Otherwise proceed with adding other settings.